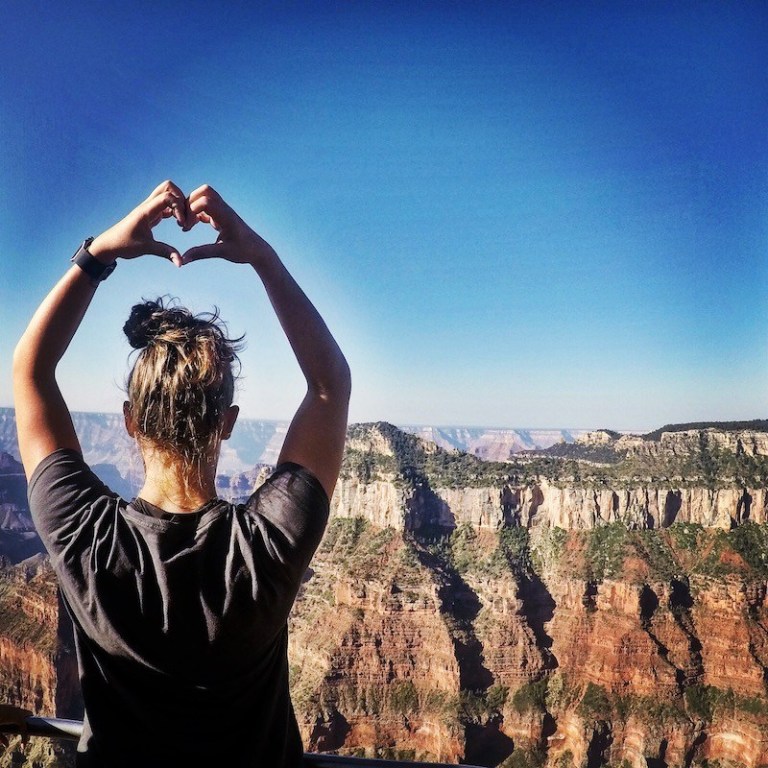
It’s been a week since I completed my Rim-To-Rim-To Rim hike across the Grand Canyon. I not only survived it, but I enjoyed taking every single step. Hiking the Grand Canyon Rim-To-Rim-To Rim was easily one of the hardest and most challenging things I’ve ever done. It’s also been the most amazing thing I’ve ever done for myself and I did it on my own two feet. My love affair and yearning for hiking was discovered while doing my first Rim To Rim hike back in September 2015. Soon after this first trip, I vowed to come back and do it all over again.
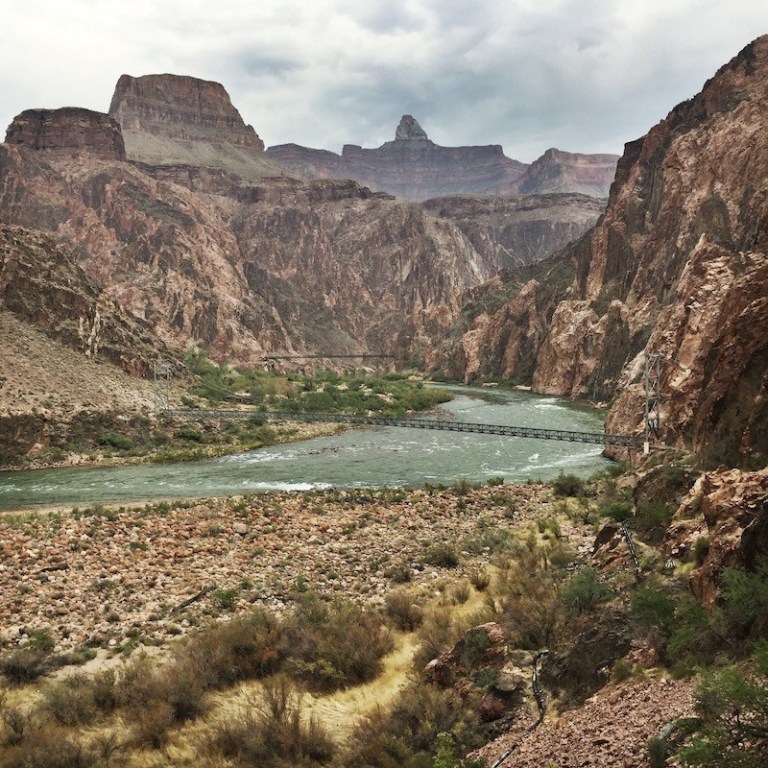
Just to give you a little perspective on what this trip entails, the hike from one rim to the other is about 24-25 miles. On our route, we started at 4AM in the pitch black dark on Friday morning from North Rim on the North Kaibab Trail at 8,241 feet and hiked all the way down to 2,480 feet, about 14 miles, at the Colorado River where we crossed over the Silver Bridge. From the river, we hiked up the Bright Angel Trail all the way up to 6,860 feet at the South Rim, about 10 miles. It took me 12 hours to get to South Rim. According to my FitBit, my stats were 60,113 steps, 26.22 miles and 402 floors.
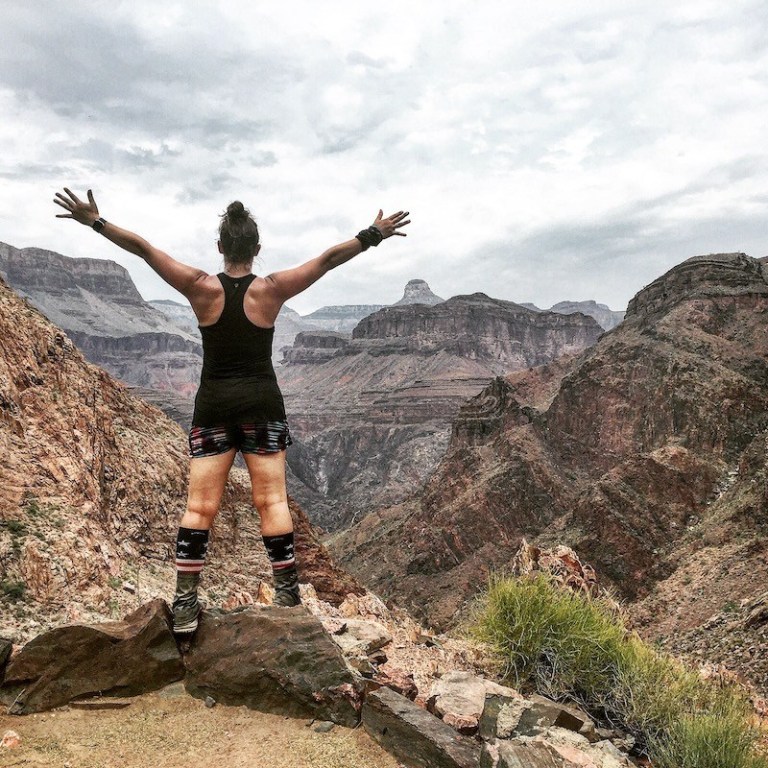
The next morning, we got back on the trail from South Rim at the start of the Bright Angel trailhead at 4:15AM and hiked all the way back to the North Rim. It took me another 12 hours to get back to North Rim. According to my FitBit, my stats were 56,485 steps, 24.64 miles and 562 floors. Since North Rim is about 1,000 feet higher than South Rim, the trek up out of North Rim is a tad bit more challenging than hiking out of South Rim.
Over the course of the whole hike, from North Rim to South Rim, you’ll experience an elevation change of about 10,141 feet in over 24+ miles. This hike is not to be taken lightly. It’s extremely challenging. The Grand Canyon Rim-To-Rim hike was the HARDEST hike I had ever done, until I hiked Half Dome in Yosemite for my 40th birthday last year. Now, the Grand Canyon Rim-To-Rim-To Rim hike is by far the most challenging hike I’ve ever done.
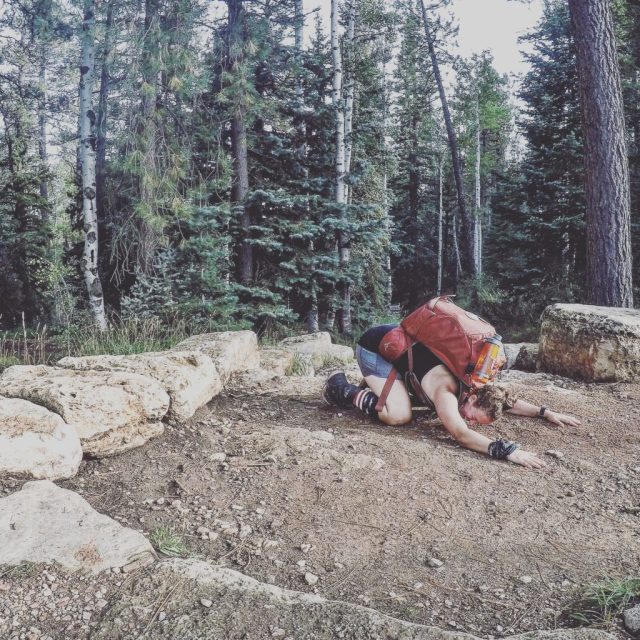
So how did I survive this feat? LOTS of training and plenty of preparation. Trust me, you can’t just wake up one day and decide you’re going to hike from one rim of the Grand Canyon to the other. I mean, you could, but why put yourself through an unnecessary sufferfest and risk your health and safety? Also, lodging fills up pretty quickly on either rim of the Grand Canyon. You’ll need to make reservations for lodging AND dining ahead of time before your trip, sometimes up to a year in advance, depending on where you want to stay.
Training to Hike the Rim-To-Rim-To-Rim
For my first trip to the Grand Canyon, my training consisted of hiking, running and Bikram Yoga. I had gone on a handful of hikes from the end of May up until we left for our canyon trip at the end of September. I had incorporated some running into my weekly routine, maybe 1-3 times a week for about eight weeks or so. I also made a point to take a lot of Bikram Yoga classes to help get my mind straight with being able to focus in the heat and humidity. I did okay on my first hike across the Grand Canyon. I was the last one in the group of five to finish and it was incredibly challenging for me the entire way.
This time around, I started my training at the end of April and continued my training all the way up to the day before we left for the Grand Canyon. Over the course of four months, I hiked over 1,281 miles. That works out to about 37 hikes, at about 1-3 hikes a week. Each hike I did was with a considerable amount of elevation gain/loss and was completed with at least 5-7 liters of water in my pack. In addition to all of the weighted down hiking, I also taught 6-8 hot yoga and Yoga Sculpt (yoga with weights) classes a week. Everything I did over the last four months was with the Grand Canyon Rim-To-Rim-To Rim hike in mind. I trained my ass off any way I could.
Packing List For the Trip
I started packing for the Grand Canyon trip a week before we were scheduled to fly out. Click here for my detailed trip packing list. The only thing I didn’t bring with me on the trip from my original list was my Ten Essentials knife. I decided the night before getting on the plane to leave it at home. I didn’t want to risk TSA taking it out of my bag. Also, since I didn’t check-in my bag for my flight, I figured I’d avoid all of the drama of trying to take it with me through security.
Snacks For The Hike
The night before we left for the trailhead at the North Rim, I cut the number of snacks I was planning on carrying by half. Originally, it was not by choice. I had run out of room in my pack and was forced to downsize. Even after downsizing my snack load, I had plenty of snacks to eat on the trail. Not once was I ever hungry while hiking. I ended up back on North Rim with plenty of snacks left over. Snacks are surprisingly heavy so be careful in what you decide to pack.
What snacks should you bring for the hike? Only you can answer that. Bring snacks you will want to eat. Trust me, you’ll want to eat way more food than you think you will. You’ll need to keep fueling the furnace along the way with all of the calories you’ll burn hiking. This is NOT the time to go on a fast or a diet. Give your body the energy it needs. You can pack fruit, but keep in mind fruit will be more on the heavy side. I included a detail list of the snacks I brought with me in my Packing List blog post.
Water Along The Trail
Even though there are quite a few water/restroom stops along the way, it’s wise and highly recommended to hike with plenty of drinking water in your pack. On my most recent trip, I had 5 liters of water in my pack at all times. This might seem excessive, but I had a moment on my first trip to the canyon when I drank my 3-liter water reservoir dry, right before reaching Indian Gardens. It messed with me emotionally and I never quite recovered from that before hiking up out of South Rim. This year, I made sure to train with extra water weight in my pack so I’d know what it felt like to have at least 5-liters of water in my pack when I walked across the canyon. Surprisingly, it wasn’t as heavy as I thought it would be and it made me so much stronger in the long run. On the hike out of North Rim, I gave my body a break and only hiked out with 3-liters of water in my pack from Cottonwood to the top of North Rim. Not once did I ever come close to running out of water. I put that fear in check!
My recommendation? Plan on hiking with a little extra water weight, along with extra snacks. You don’t have to go crazy overboard like I did with the amount of water and snacks, but do have something with you. You never know when a pipe might burst down in the canyon causing a water stop to go out of order. It’s best to be prepared for anything.
Lodging/Flights/Restaurant Reservations
Lodging – Book as soon as possible! The lodging near the main lodge and trailhead on South Rim and the super cute cabins near the main lodge on North Rim fill up a year in advance. There is other lodging available that doesn’t fill up as quickly – Kaibab Lodge on North Rim and various lodging on South Rim, but it’s in your best interest to book these as early as you can.
Flights – We flew into Las Vegas airport from Seattle. We then hopped into a rental car and drove four and a half hours to the Grand Canyon North Rim. We parked the car at the North Kaibab trailhead and left it there overnight while we hiked to and spent the night on the South Rim. There’s plenty of parking at the trailheads as long as you get there early enough. Weekends might be tougher to score a spot, so be prepared to get there early.
Restaurants – I had three delicious meals while in the Grand Canyon National Park. Thursday night (the night before we started our trek from North Rim to South Rim) I had a pasta dinner at the Grand Canyon North Rim Main Lodge. On Friday night after hiking out of South Rim, I had a well-deserved steak and potatoes dinner at the El Tovar Restaurant on the South Rim. Then on Saturday night, after coming back up the North Rim, I had another well-deserved steak and potatoes dinner back at the Grand Canyon North Rim Main Lodge. Yes, you will need reservations for both restaurants if you plan on dining here so plan on making them after you book your lodging.
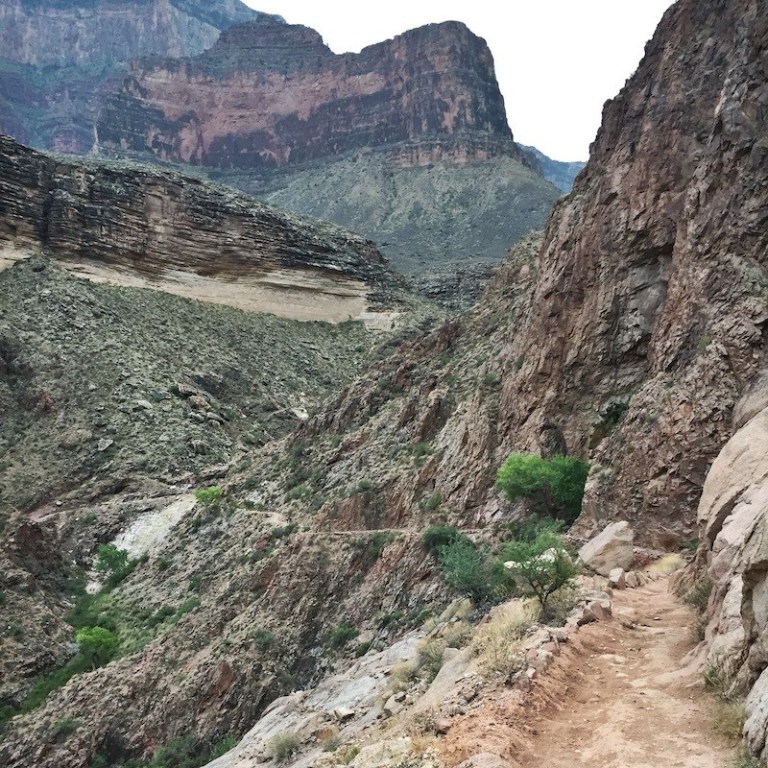
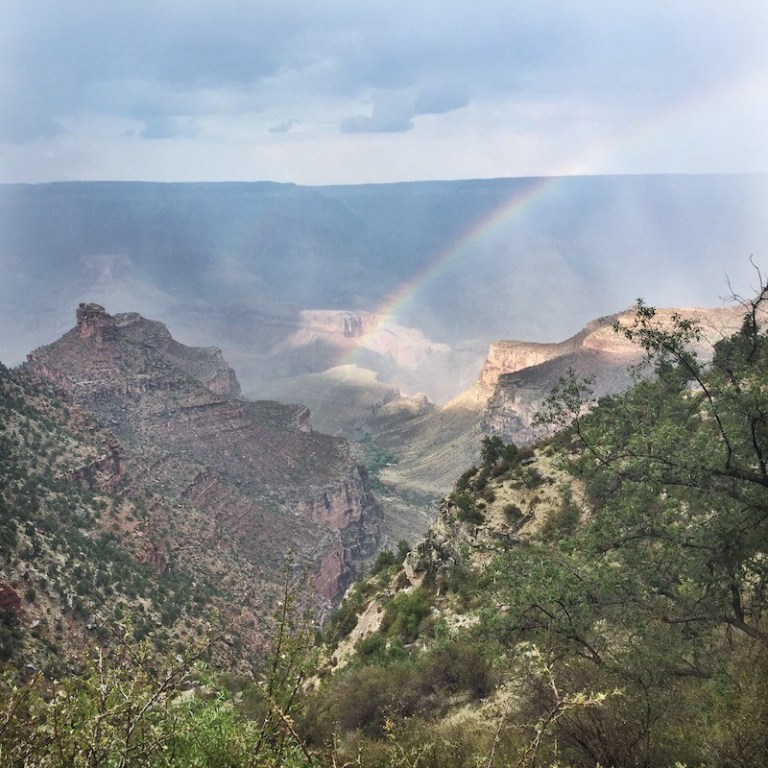
I can’t tell you how much of an incredible experience it is to visit the Grand Canyon. You’ll have to experience the canyon for yourself. It’s one thing to visit the canyon from either North Rim (the more remote location of the two) or South Rim (the tourist trap). It’s a whole other experience entirely when you hike down from either rim, deep into the canyon.
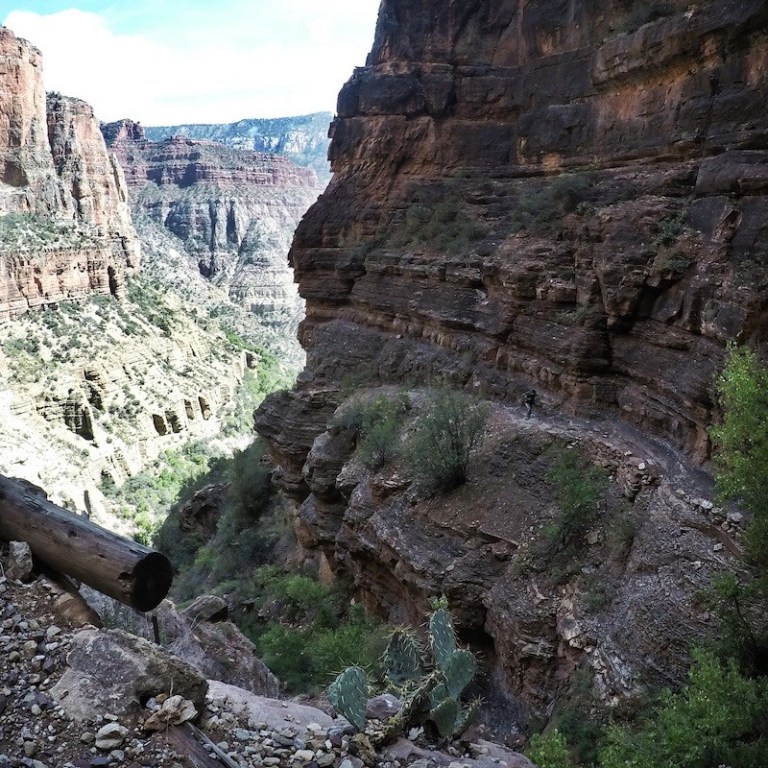
For the second time now, the Grand Canyon has stolen my heart. The canyon has pushed me in ways I never thought possible. The canyon has once again given me hope and strength. This trip showed me that “Yes, I can! Yes I can hike 25 miles in one day and another 25 miles the next day after.” Yes, I still have plenty of training left ahead of me over the next six months, but now more than ever, I’m several thousand steps closer to mentally and physically hiking the PCT next April. The canyon has reassured me of that.
I encourage you to get out there and have your own Grand Canyon experience. We all hike on the same trail, but everyone hikes their own hike. Do your research, be prepared and train your body and mind for one of the best adventures you’ll ever have.
Once you’ve completed your Grand Canyon Rim To Rim Hike, be sure to join the Rim To Rim Club!
Some Of My Other Favorite Hiking Tips For Rim-To-Rim/Rim-To-Rim-To-Rim:
Start Early – It will more than likely be dark if you plan on starting your hike at 4AM so pack a headlamp and extra batteries. Also, if you start later and are a slower hiker, you’ll more than likely be finishing your hike in the dark so still pack that headlamp.
Mules – At the beginning on both the North and South Rim trails, look at for mule poop and urine. It’s especially specialthe warmer the weather is. The smell of warm mule urine is forever engrained in my head now. If you see a mule train coming up or down the trail, give them the right away. Hug the inside edge of the trail and stay still until the train passes.
Warm Clothes – Since you’ll more than likely be starting your hike in the dark, you’ll also probably want to start your hike with a warmer layer of clothing – pants and a long-sleeved shirt. The canyon gets a lot colder at night and in the early morning, especially once you start hiking down into the canyon. Be prepared to shed your layers about five miles in at either the Manzanita Rest Area (on North Rim) or Indian Garden (on South Rim.)
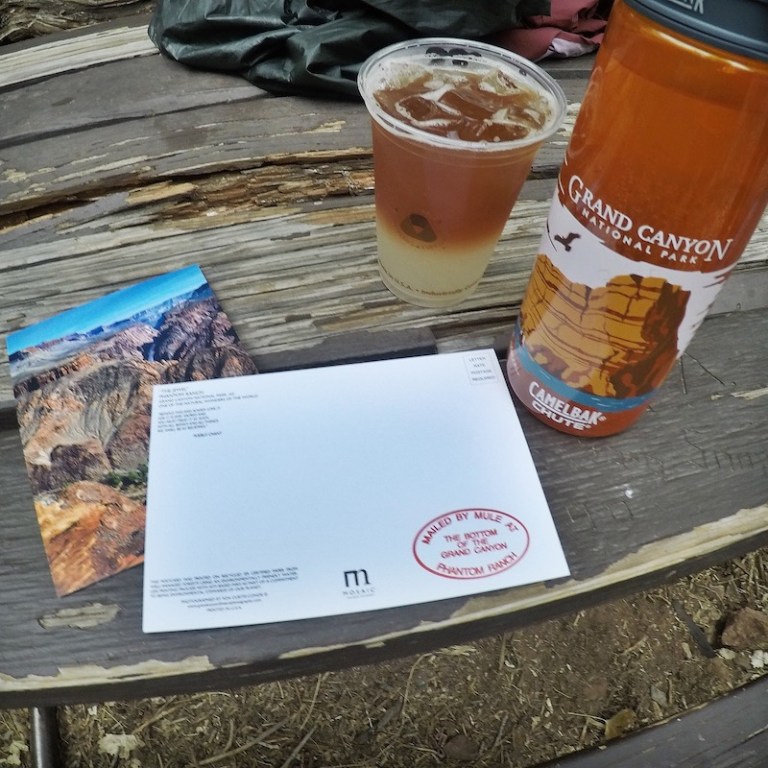
Give Yourself A Break – It’s recommended that you give yourself a ten minute break at least once an hour during your hike. I ended up taking two-half-hour breaks on my way from North Rim to South Rim, one at Phantom Ranch and one at Indian Garden Campground. On the way back to North Rim, I took two-half-hour breaks, one at Phantom Ranch and the other at the Cottonwood Campground, right before the climb up to North Rim started. Fun Fact: You can mail loved ones postcards via mule from Phantom Ranch. Purchase Phantom Ranch postcards and stamps along with an iced cold lemonade from the Phantom Ranch Canteen.
Drink Water – It’s recommended that you drink ½ to 1 liter of water every hour of hiking, especially when the temperatures are higher. Keep in mind, the canyon floor is easily 20 degrees hotter than it is on either rim. Stay cool and stay safe. There is a major stretch of the canyon floor where there aren’t any water stops, from Cottonwood Campground to Phantom Ranch (about 8-9 miles). Before you leave either place, make sure you’re well-stocked up with water.
Don’t Get Boxed In – Avoid the “Box” during the hottest part of the day, from 11AM to 2PM. The “Box” is the narrow stretch of Bright Angel Canyon, just outside of Phantom Ranch (if you’re heading towards North Rim.) You’ll know you’re in the box when you feel and see the walls of the canyon begin to close in all around you. This is probably one of my most favorite sections of the trail. In the “Box”, you’ll cross the Bright Angel Creek several times using numerous footbridges.
Have Fun – Don’t be afraid to chat up other hikers. You never know who you’ll meet. On my return hike back to North Rim, I ran into a group of hikers who were cooking breakfast on the trail, in the middle of the canyon floor. I slowed down just long enough to hear one of them offer me a pancake. A pancake? A warm, freshly cooked pancake?!!!?!! I happily accepted their generosity and can now say I had the pleasure of eating a fresh, hot pancake down in the canyon during my hike. How cool is that?

Tons of great advice here ! Wish I had read this before I did my rim to rim to rim. Question, on your south to north leg, why didnt you take south kaibab?
Going up South Kaibab is shorter, but there also isn’t any shade or water. Bright Angel will have shade later on in the day as you make your way up to the top and there’s multiple water stops. If I do take South Kaibab, it’s coming down, early in the morning to watch the sunrise. Epic!!
Hi, starting to plan a rim to rim hike. Odd question, I used Brooks for running so wanted to ask if you suggest the GTX waterproof version?
Not an odd question at all. I guess it depends on when you plan on doing your hike. There aren’t any water crossings you’ll have to worry about along the way so having Gore-Tex hiking shoes might be overkill, especially if you plan on hiking during the warm months. YOu’ll want your feet to breathe so you don’t risk getting blisters. During September and October, the area can be prone to flash flooding and you might have a bit of rain to deal with, but even with the rain, I never thought I needed Gore-Tex shoes. If you’re hiking in the winter with snow, that’s a whole other story. Hope that helps!